Making an Aluminum Hanukkah Menorah
This Hanukkah, I made a menorah using Plethora’s manufacturing system.
Designing the Part
I started by designing the menorah using OnShape – a free, browser based CAD program. OnShape is super easy to use and it can export files in many formats. Usually I’d use SolidWorks with the Plethora Add-in, but my Windows remote desktop was down. The Add-in gives instant manufacturability, price, and ordering feedback and it also works with Autodesk Inventor.
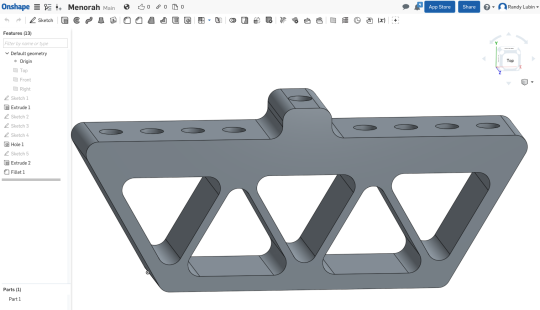
I’ve made the final part file public and you’re free to copy and remix it.
After designing the part, I downloaded the file and opened it in a coworker’s copy of SolidWorks. I ran it through the Plethora Add-in and found out that my fillets (the rounded corners) were too tight on the inside for the depth of the part – the mill wouldn’t be able to reach all the way through. I quickly increased the fillet radius slightly reduced the depth of the part. The menorah then passed the Add-in and I got an instant price quote and placed an order.
I didn’t have to pay (perk of working at Plethora) but if you want to make one, it should cost about ~$140 depending on the ship date. That’s well within the free credit ($250) you get when you sign up.
Milling the Menorah
Since our office is in the factory, I got to watch the part get made.
The first step is cutting the stock – we used 6061 Aluminum (what most aluminum products are made from).
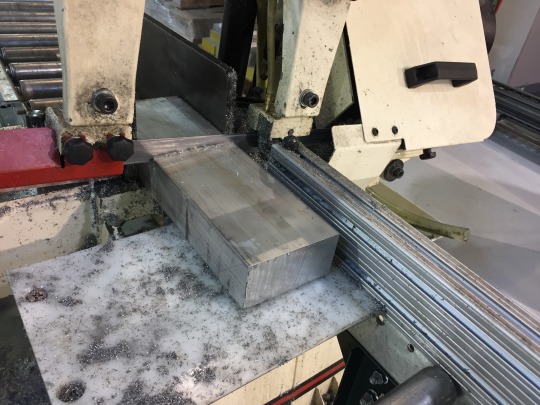
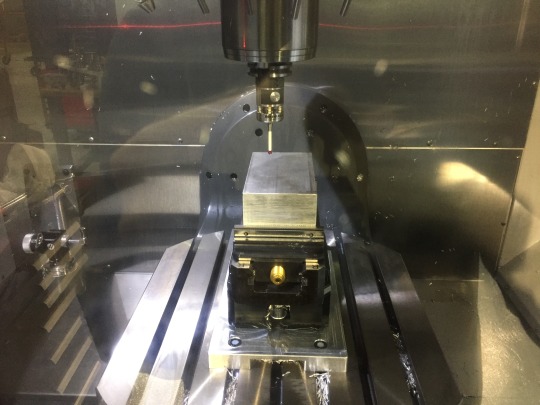
Next, we loaded the stock into a 5-axis CNC Milling machine. We used a 5-axis machine so we could rotate the part to drill the candle holes. In this shot, the machine is probing the aluminum stock to locate it precisely.
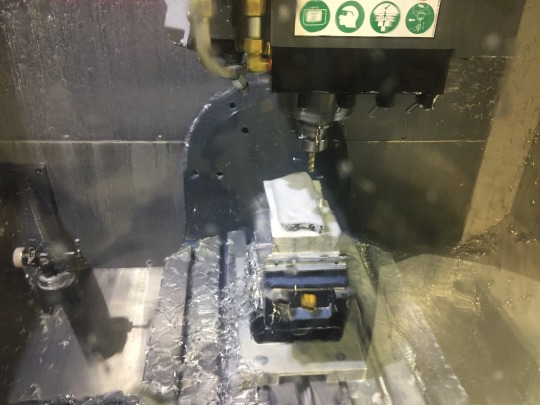
Once the milling starts, coolant and aluminum swarf (chips) fly everywhere and it’s tough to get a good photo. This next shot is from partway through the process and you can see the basic shape taking form.
After milling the front of the Menorah, the machine’s bed tilts 90 degrees so we can drill candle holes in the top. If we were using a 3-axis machine, we’d have to take the part out and create work-holdings for it. In this next photo, the spot drill is creating the initial candle holes.
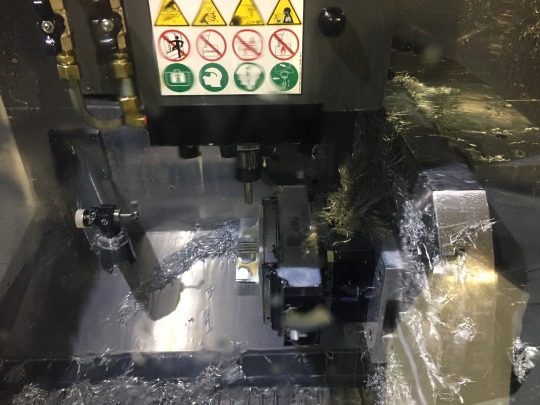
Here’s the menorah partway through the manufacturing process:
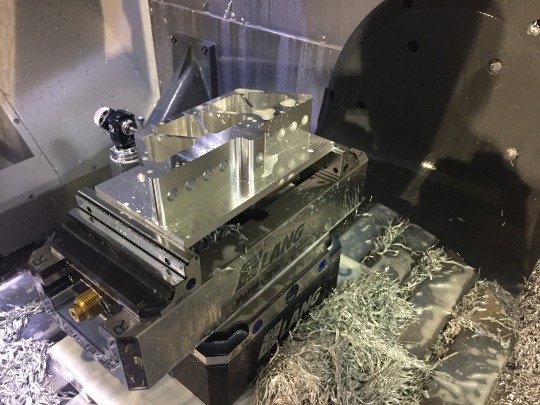
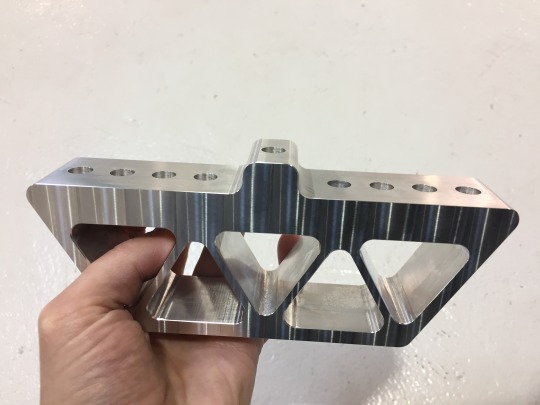
The remaining step is to remove the “raft” at the bottom of the part and face it for a smooth finish. Here’s the part fresh out of the machine at the end of the process:
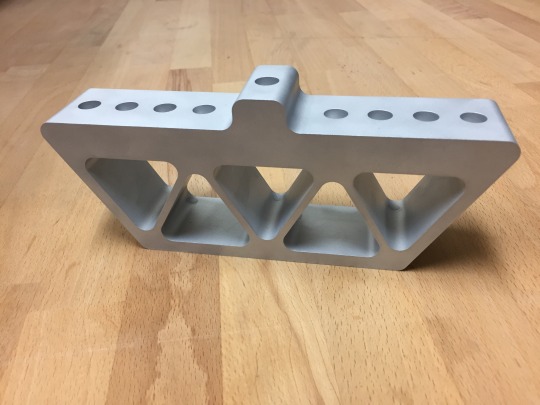
Shiny! I could have stopped here but decided to media-blast it for a matte finish. This process makes it look a bit like a Macbook.
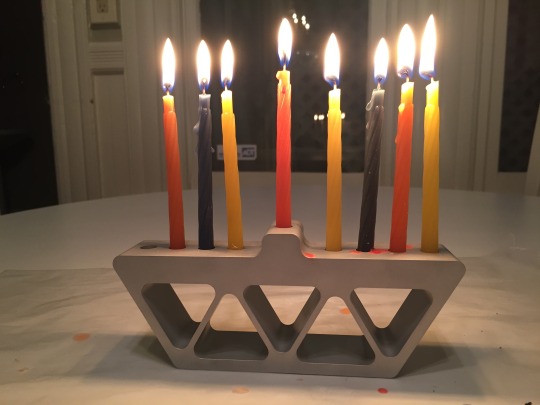
I’m extremely happy with how it turned out! Big thanks to Aly Kaderali and Michael von Sothen their help throughout the process!
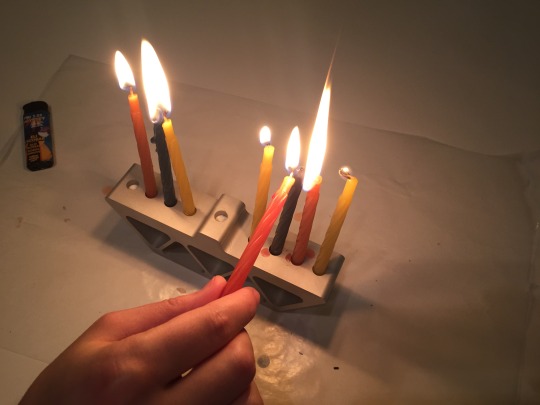
Here’s a final picture of me lighting the candles, which fit perfectly in the menorah: